
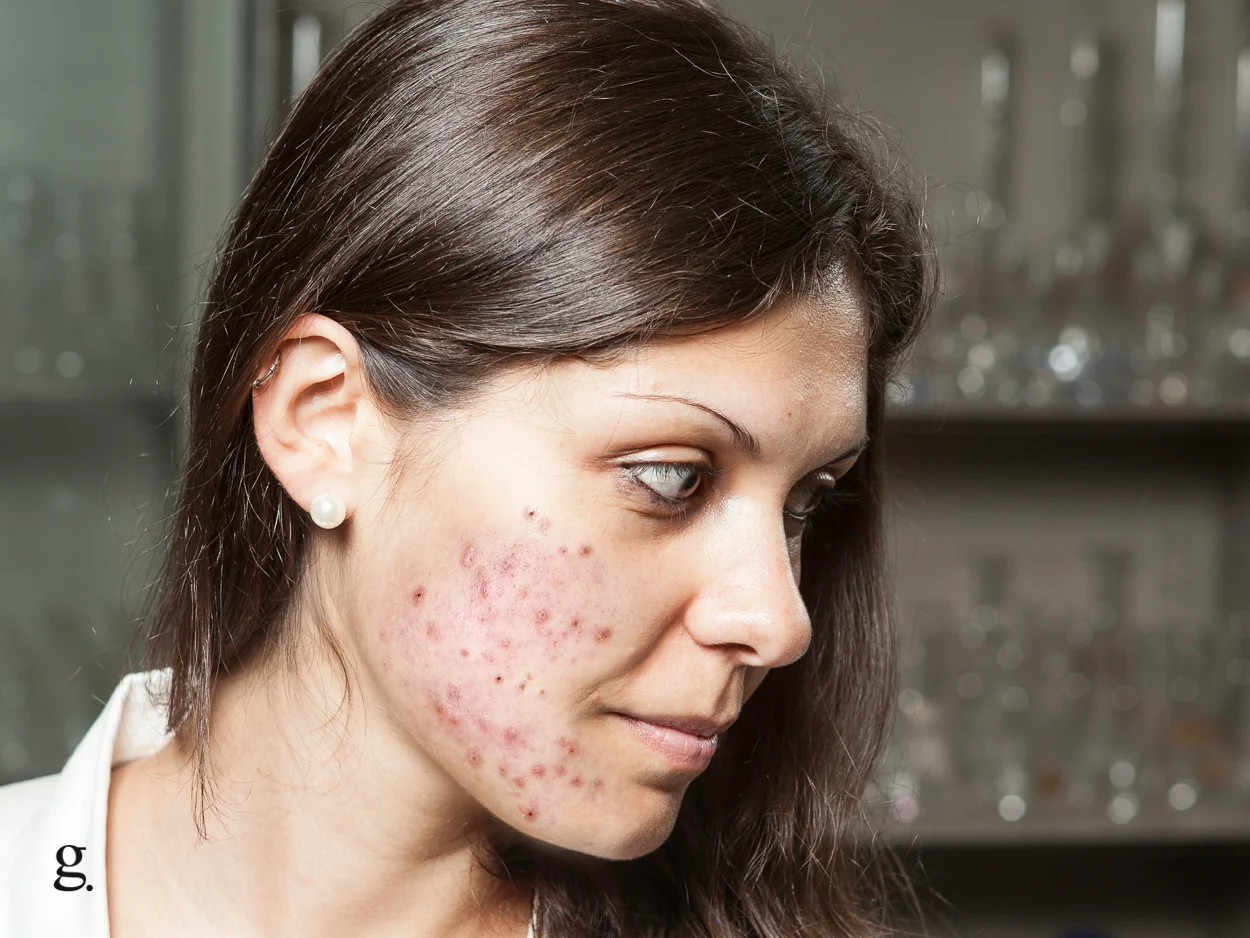
Oh, acne – that pesky, unwelcome visitor that tends to overstay its welcome. It’s no secret that achieving clear, radiant skin can be quite the journey, especially when acne decides to make an appearance.
So, buckle up, and let’s dive into the world of acne-fighting skincare routines to help you put your best face forward.
Morning Anti-Acne Skincare Regimen
Follow these steps as soon as you wake up:
Step 1: First Cleansing
When it comes to kicking acne to the curb, starting with a clean slate is essential. Enter: the first cleanse. This step is all about washing away any surface-level dirt, oil, and makeup that might be clogging your pores. For this, you’ll want to reach for an oil-based cleanser, as it’ll gently lift away impurities without stripping your skin of its natural moisture.
Simply massage the oil cleanser onto your dry face, using circular motions to break down the grime. Once you’re satisfied that you’ve dissolved the day’s dirt, rinse your face with lukewarm water, and pat dry with a soft towel.
Step 2: Second Cleansing
You might be thinking, “Wait, another cleanse?” But trust us, double cleansing is where the magic happens. We can never really stress how much of a difference double cleansing makes. It ensures that your face is rid of all kinds of gunk, leaving no stone unturned (or pore unclogged).
After your first cleanse, it’s time to follow up with a water-based cleanser to really get down to business. This second cleanse will target any lingering impurities and water-based debris, like sweat and environmental pollutants. Opt for a gentle, non-foaming cleanser that’s suitable for your skin type, especially if you have sensitive or acne-prone skin.
To get the most out of your second cleanse, wet your face with lukewarm water, and then gently massage the cleanser onto your skin using circular motions. Rinse thoroughly, and pat your face dry with a soft towel.
Step 3: pH Rebalancing
After giving your skin a thorough double cleanse, it’s time to bring balance back into the picture with a pH rebalancing toner. Our skin’s natural pH hovers around 5.5, making it slightly acidic. However, when you cleanse your face, the pH level can fluctuate, leaving your skin vulnerable to acne-causing bacteria.
A pH rebalancing toner is the unsung hero of an acne-fighting skincare routine, helping to restore your skin’s pH balance and providing a healthy environment for your skin to flourish. It’s essential to choose an alcohol-free toner packed with soothing and hydrating ingredients like aloe vera, chamomile, or hyaluronic acid.
To apply the toner, simply pour a small amount onto a cotton pad and gently sweep it across your face and neck, avoiding the eye area. Alternatively, you can pat the toner directly onto your skin using your fingertips.
Step 4: Apply Acne Patches
When it comes to keeping acne under control, prevention is just as important as treatment. That’s where acne patches come in handy. These nifty little inventions are adhesive hydrocolloid stickers that help protect and heal pimples by absorbing pus and reducing inflammation.
Using acne patches in the mornings is a game-changer, as they shield your blemishes from dirt and pollution throughout the day, preventing further irritation. Plus, they’re usually transparent, so they blend seamlessly with your skin, allowing you to go about your day without anyone noticing you’re wearing one.
To use an acne patch, make sure your skin is clean and dry. Then, simply peel the patch from its backing and place it over the pimple, pressing gently to ensure it adheres properly.
Once applied, leave the patch on for the recommended time (usually a few hours or until the patch turns opaque).
Step 5: Use A Lightweight Moisturizer
You might be tempted to skip the moisturizer when dealing with acne, but trust us, that’s a no-go. In fact, keeping your skin well-hydrated is crucial for a healthy, balanced complexion. The trick here is to choose a lightweight, non-comedogenic moisturizer that won’t clog your pores or exacerbate breakouts.
Look for formulas with ingredients that offer soothing and hydrating benefits, such as hyaluronic acid, glycerin, or niacinamide. These superstar ingredients not only provide moisture but also help calm inflammation and redness associated with acne-prone skin.
To apply your lightweight moisturizer, take a pea-sized amount and gently massage it onto your face and neck using upward and outward motions.
Step 6: Lightweight Chemical Sunscreen
Last but definitely not least, we have the ultimate skin savior: sunscreen. No skincare routine is complete without it, and when it comes to acne-prone skin, it’s even more important. Sun exposure can lead to inflammation and pigmentation, making acne scars and blemishes more noticeable and harder to fade.
For acne-prone skin, opt for a non-comedogenic, broad-spectrum sunscreen with an SPF of 30 or higher. This will ensure that you’re protected from both UVA and UVB rays. It’s also a good idea to look for oil-free and fragrance-free formulas to prevent irritation and further breakouts.
To apply sunscreen, take a generous amount (about half a teaspoon) and spread it evenly over your face and neck as the final step in your skincare routine. Remember, sunscreen should be worn every day, rain or shine, to keep your skin protected and healthy. And don’t forget to reapply every two hours, especially when spending time outdoors or after swimming and sweating.
Day’s finished? Remove makeup ASAP!
At the end of a long day, it’s crucial to let your skin breathe by removing all traces of makeup. Leaving makeup on your skin for longer than necessary is not a good idea, as it can clog pores, cause breakouts, and lead to premature aging. We recommend taking your makeup off as soon as you get home, giving your skin a chance to rest and rejuvenate.
To remove your makeup effectively, you can use a gentle makeup remover or micellar water. Soak a cotton pad with the product and gently sweep it across your face, paying special attention to areas where makeup tends to accumulate, like around the eyes and nose.
Remember, a clean canvas is the foundation of a successful acne-fighting skincare routine!
Pre-Bed Anti-Acne Skincare Regimen
Absolutely do not go to sleep before doing these steps:
Step 1: Cleansing Again
Before hitting the hay, it’s essential to give your skin a thorough pre-bed cleanse. This step is all about washing away the day’s dirt, oil, and pollutants that have accumulated on your skin, preventing them from wreaking havoc on your complexion overnight.
Your pre-bed cleansing routine should include the same double cleansing process you follow during the day – first with an oil-based cleanser, followed by a water-based cleanser. This dynamic duo will ensure that all impurities are effectively removed, setting the stage for a good night’s sleep and a refreshed, acne-free complexion in the morning.
Step 2: Use Niacinamide
Introducing a superstar ingredient to your acne-fighting skincare routine: niacinamide. This powerful form of vitamin B3 is a must-have in your arsenal, mainly for its inflammation-reducing properties, but it also comes with a plethora of other benefits for acne-prone skin.
In addition to calming inflammation, niacinamide works to regulate sebum production, helping to keep excess oil in check and reducing the chances of breakouts. It also helps to strengthen the skin’s barrier function, making it more resilient against environmental stressors. And if that’s not enough, niacinamide can also improve skin texture and even out skin tone by reducing the appearance of dark spots and post-acne marks.
To incorporate a niacinamide serum into your routine, apply a few drops to clean, dry skin after toning and before moisturizing. Gently massage the serum into your face and neck, and let it fully absorb before moving on to the next step.
Step 3: Use Topical Spot Treatments
For those times when a pesky pimple decides to make a surprise appearance, having a trusty topical spot treatment on hand can be a real lifesaver. These targeted treatments are specifically designed to tackle active breakouts, significantly speeding up the pimple’s maturity so you can bid adieu to it more quickly.
Ingredients like benzoyl peroxide, salicylic acid, and sulfur are common power players in spot treatments, working to kill acne-causing bacteria, unclog pores, and reduce inflammation. To use a spot treatment, simply dab a small amount directly onto the blemish after cleansing, toning, and applying your serum. Be sure to follow the product’s instructions for frequency and duration of use, as overdoing it can cause irritation and dryness.
Remember, spot treatments are meant to be used sparingly and only on the affected areas, so resist the temptation to slather it all over your face.
Step 4: Apply Night Cream
As the grand finale of your nighttime skincare routine, a nourishing night cream is just what your skin needs to help it repair and rejuvenate while you catch some Z’s. Designed to provide intense hydration and support your skin’s natural repair process, night creams often contain ingredients like peptides, ceramides, and antioxidants to give your skin a beauty boost overnight.
When choosing a night cream for acne-prone skin, it’s crucial to look for a non-comedogenic formula that won’t clog your pores or cause breakouts. Opt for a product that offers hydration, anti-inflammatory properties, and skin barrier support, as these features will help keep acne under control and promote a healthy complexion.
To apply your night cream, take a small amount and gently massage it onto your face and neck after your serum and spot treatment have been absorbed.
Knowing When To Seek Professional Help
While a well-curated skincare routine can work wonders in managing acne, it’s important to recognize that there’s only so much it can do. Sometimes, stubborn or severe acne may require more than topical treatments and may be a sign that it’s time to consult a dermatologist or a skincare professional.
Professional help can provide you with a deeper understanding of your skin’s unique needs, identify any underlying issues that may be contributing to your acne, and prescribe medication or treatments that are more potent and targeted than over-the-counter options.
So, if you’ve tried multiple skincare routines and products without success, or if your acne is causing significant pain or distress, don’t hesitate to seek the advice of a professional. Together, you can devise a more comprehensive plan to help you achieve the clear, healthy skin you’ve been longing for.
Conclusion
Incorporating an effective skincare routine specifically tailored for acne-prone skin can make a world of difference in your complexion. By understanding the importance of each step – from double cleansing to sun protection – and choosing the right products for your skin, you’re well on your way to reducing breakouts and achieving a clear, radiant glow.
Just remember, consistency is crucial, and sometimes seeking professional help may be necessary for more severe or persistent cases.